No Sew Amigurumi: Quick and Easy Cartoon Plushies
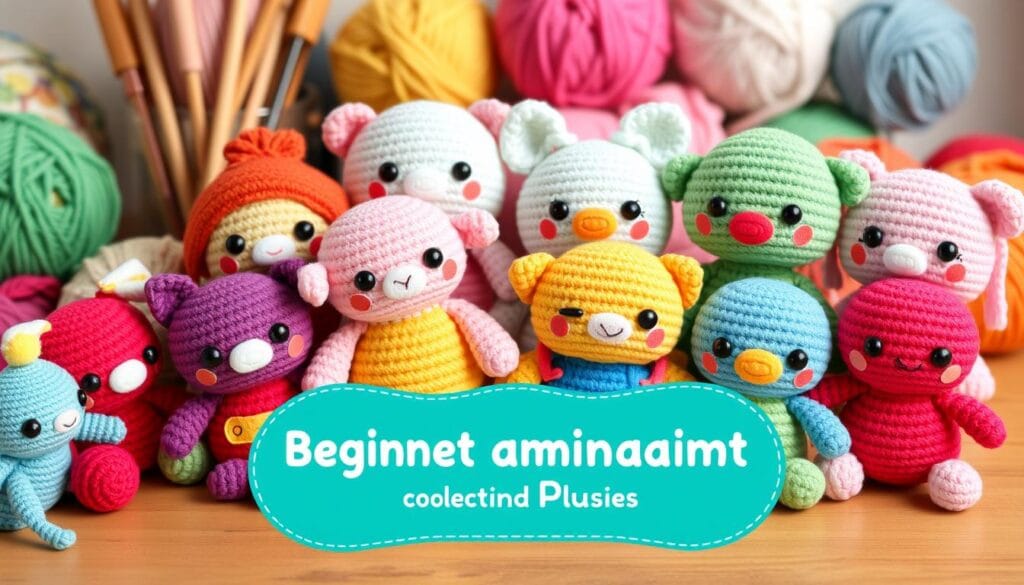
Do you remember making something magical as a kid? No sew amigurumi brings that feeling back. It lets you make cute crochet plushies without sewing, making DIY fun for everyone.
During the pandemic, making DIY plushies became super popular, up by 35%. No-sew amigurumi became a top choice. It lets crafters make beautiful cartoon characters easily, without the long sewing times.
Want to make a cute Pokemon starter, a DC Comics superhero, or an anime character? No sew amigurumi makes it easy. It lets you bring your favorite characters to life with little effort and lots of creativity.
Table of Contents
Getting Started with No Sew Amigurumi
Starting your yarn craft journey is exciting, especially with amigurumi patterns. This guide will show you the tools, techniques, and materials for making cute plushies without sewing.
Essential Tools and Materials
To start your no-sew amigurumi journey, you’ll need some tools. Here’s a list of must-haves:
- Crochet hook (3.25mm recommended)
- Velvet yarn in multiple colors (sizes 4-6)
- Safety eyes (5mm, ranging from 8-24mm)
- Polyfil stuffing
- Tapestry needle
- Stitch markers
- Sharp scissors
Understanding Basic Terminology
To master amigurumi patterns, you need to know some crochet techniques. You’ll learn stitches like:
- Single crochet (sc)
- Increase (inc)
- Decrease (dec)
- Magic ring technique
Pro tip: Practice these basic stitches to build confidence in your yarn crafts.
Choosing the Right Yarn
| Yarn Weight | Recommended Use | Typical Project Time |
|---|---|---|
| Worsted Weight (4) | Beginner-friendly projects | 30-45 minutes |
| Bulky (5) | Quick, chunky plushies | 20-30 minutes |
| Super Bulky (6) | Extra soft, squishy designs | 15-25 minutes |
When picking yarn for amigurumi, think about texture, weight, and color. Chenille-style yarns are great for soft, huggable plushies that beginners will adore.
Benefits of Creating Plushies Without Sewing
Making stuffed animals without sewing opens up new creative paths for crochet fans. This method changes how we make plushies, making it easier and faster.
One big plus of no-sew amigurumi is how quick it is. You can make amazing crochet toys in just minutes:
- Baby Birds and Baby Octopus: 10-minute projects
- Bunny designs: 15-minute creations
- Panda Bear, Bunny Puff, and Candy Fish: 20-minute masterpieces
For beginners, the best part is how little you need. All you need is a long sewing needle and some plush yarn. Most patterns use super bulky (weight 6) yarn. This makes the toys quick to make and very satisfying.
Your no-sew crochet toys can be more than just plushies. They’re great as:
- Keychains
- Ornaments
- Class party favors
- Stocking stuffers
The “Yarn Through Method” changes how we make plushies. It makes attaching limbs easy after the body is done. This makes designs easier and less complicated than old methods.
With just a few tools and lots of creativity, you can turn simple yarn into cute stuffed animals. These toys can bring happiness and show off your crafting talent.
Basic Techniques for Seamless Construction
Creating handmade gifts with beginner crochet needs some key techniques. These make your amigurumi projects look professional. No-sew methods help craft adorable plushies with less complexity.
Magic Circle Method
The magic circle technique is key for beginner crochet fans. It starts projects with a tight, closed center. This prevents holes or gaps in your design.
- Create a loop by wrapping yarn around your fingers
- Insert hook into the loop
- Work single crochet stitches directly into the loop
Joining Techniques
Seamless joining is vital for handmade gifts. Various methods help connect amigurumi parts without visible seams.
| Technique | Difficulty Level | Best For |
|---|---|---|
| Invisible Join | Intermediate | Smooth Transitions |
| Slip Stitch Connection | Beginner | Quick Attachments |
| Continuous Round Method | Advanced | Seamless Designs |
Stuffing Tips
Proper stuffing can elevate your beginner crochet project. Use polyester filling to keep the shape firm.
- Pack firmly but avoid overstuffing
- Distribute filling evenly to maintain shape
- Use a chopstick or pencil to reach tight corners
Popular Character Designs for Beginners
Starting with amigurumi tutorials is exciting for new crafters. These cute, crocheted decor pieces are great for beginners. They let you create adorable plushies and learn basic crochet skills.

- Farm Animals: Easy-to-create characters like Presley the Pig and Daphne the Duck
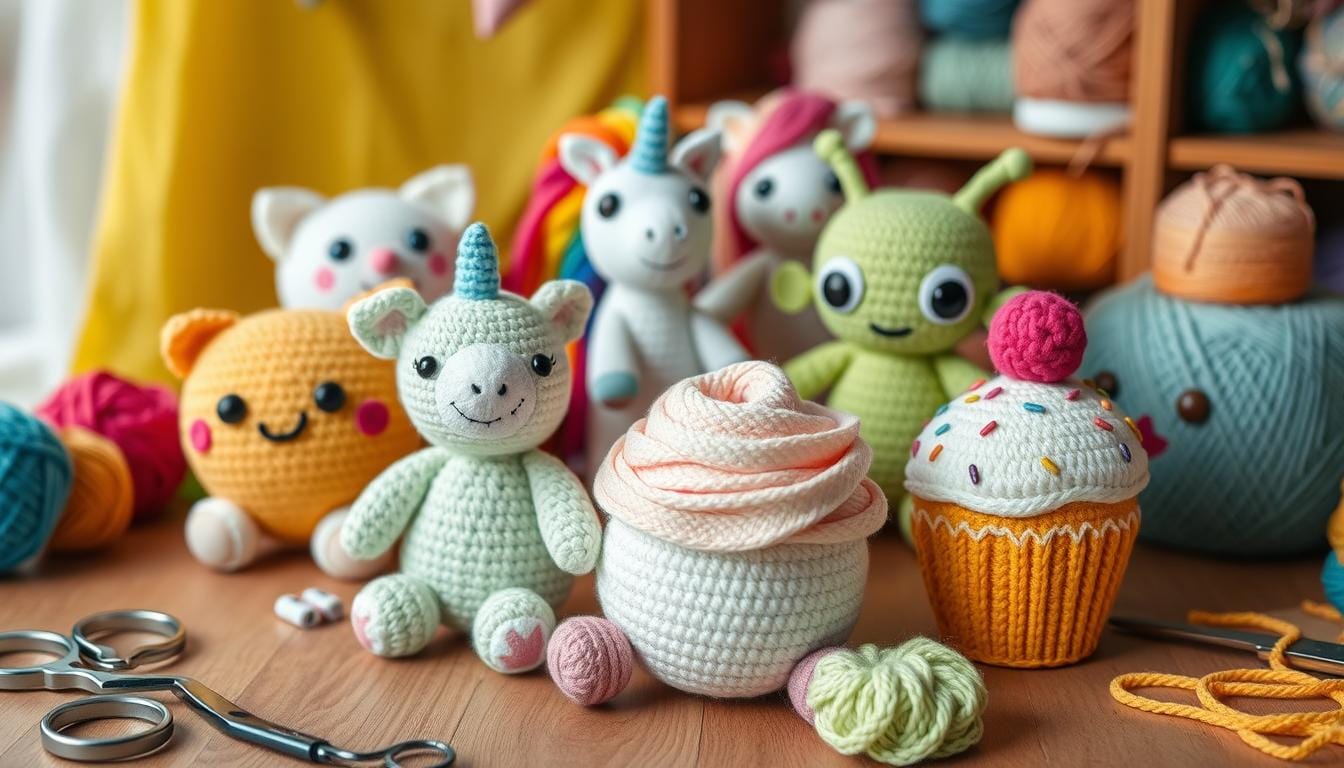
- Mythical Creatures: Adorable unicorn patterns in both large and mini sizes
- Sea Creatures: Simple whale and turtle designs perfect for novice crafters
The best characters for beginners have:
- Minimal shape requirements
- Basic color schemes
- Recognizable features
“The beauty of amigurumi is in its simplicity – even the most basic design can become a treasured creation.”
Start with iconic animal shapes that need little detail. The bunny is a classic, with its distinctive ears. Your first project can be a small, earless bunny that still looks like a bunny.
| Character Type | Difficulty Level | Time to Complete |
|---|---|---|
| Bunny | Beginner | 1-2 hours |
| Unicorn | Easy | 2-3 hours |
| Whale | Beginner | 1-2 hours |
Pro tip: Start with simple shapes and few color changes. This builds your confidence and prepares you for more complex designs later.
Working with Safety Eyes and Facial Features
Creating a no sew amigurumi needs focus on facial details. The right eyes can turn a simple plushie into a lively character.
Safety eyes are key for expressive amigurumi. They give your plushies a professional look and bring them to life.
Safety Eye Placement Guidelines
Getting the eye placement right is crucial. Here are some tips:
- Position eyes between rows 9-10
- Space eyes about 5 stitches apart
- Use a 6mm safety eye for standard plushies
- Make sure eyes are symmetrical for a balanced look
Alternative Expression Methods
If safety eyes don’t work, try these creative options:
- Embroidered eyes with contrasting yarn
- Felt cut-out eyes
- Button eyes for a vintage look
- Needle-felted eye details
Eye Size and Style Considerations
| Eye Size | Recommended Use |
|---|---|
| 8-10mm | Small amigurumi characters |
| 12-15mm | Medium-sized plushies |
| 18-24mm | Large character designs |
Pro tip: Always choose safety eyes that match your character’s design and size.
The eyes are the windows to your amigurumi’s soul – choose them wisely!
Adding Details and Accessories
Turn your yarn crafts into unique plushies by adding special accessories and details. Amigurumi patterns let you make each toy special and one-of-a-kind.

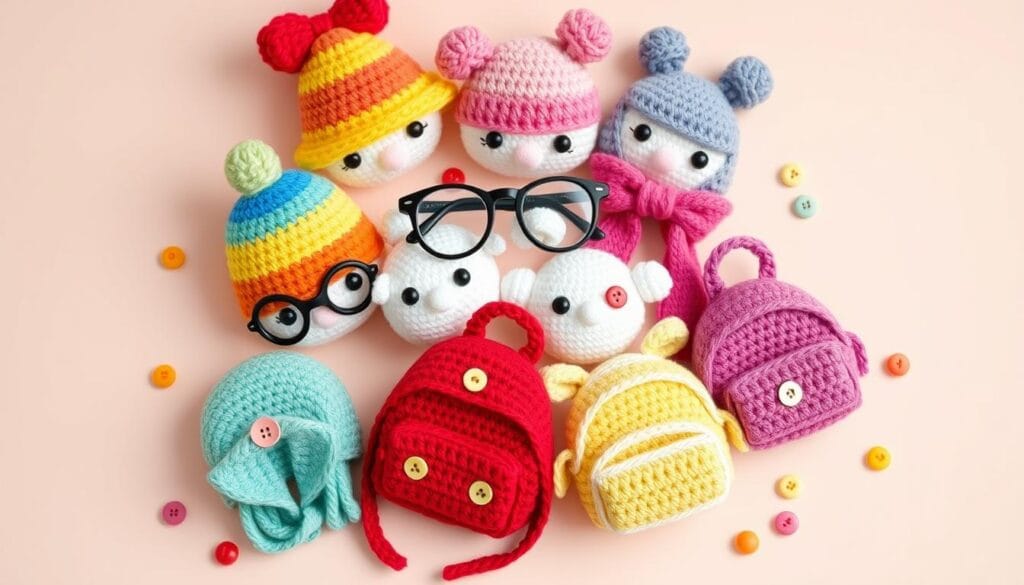
- Tiny scarves using simple chain loops
- Miniature hats crocheted in matching colors
- Decorative bows for extra personality
- Embroidered facial expressions
Winter-themed amigurumi can be very cute with small accessories. A tiny scarf can make a simple plush into a seasonal character. It captures the cozy feeling of winter.
“The magic of amigurumi lies in the details that bring your creation to life.” – Crochet Enthusiast
| Accessory Type | Yarn Required | Difficulty Level |
|---|---|---|
| Mini Scarf | 1-2 yards | Beginner |
| Decorative Bow | 0.5 yards | Easy |
| Small Hat | 3-4 yards | Intermediate |
Tip for your yarn crafts: Use different colors for accessories to make them stand out. A bright red scarf on a white plush or a soft bow can change your creation’s look.
Remember, the key to stunning accessories is keeping them proportional and aligned with your plush character’s overall design.
Size Modification Techniques
Creating stuffed animals in different sizes can make your amigurumi projects special. You can make tiny crochet toys or big plush friends. Knowing how to change sizes is key for crafters.
Scaling Patterns Strategically
Changing the size of your amigurumi needs careful steps to keep the character’s look. Here are some ways to modify stuffed animals:
- Change yarn weight to alter overall size
- Adjust hook sizes for dimensional variations
- Modify stitch techniques to control height
Proportional Scaling Techniques
Experts in crochet toys use math to resize patterns well:
- Using bulky yarn reduces pattern size to approximately 3/4 of the original
- Combining multiple yarn strands can increase size by 1.5 times
- Holding two worsted weight yarn strands can create a piece 44% larger
“Successful amigurumi resizing is about maintaining character charm while changing dimensions.”
Crafters can try different hook sizes and yarn mixes to get the size they want. The trick is knowing how these changes affect the toy’s size and shape.
Common Mistakes to Avoid
Making handmade gifts with amigurumi takes practice and patience. As a beginner, knowing common mistakes helps you make better plushies.
Stitch counting is key in no-sew amigurumi. Getting it wrong can change your project’s shape and size. Experts say to use stitch markers every 10 stitches to stay accurate.
- Count stitches carefully in each round
- Practice consistent tension techniques
Controlling tension is another big challenge for beginners. Tight stitches make your plushie stiff, while loose ones make it uneven. Doing small swatches helps you get better at keeping your stitches even.
| Tension Issue | Recommended Solution |
|---|---|
| Naturally Tight Tension | Use one hook size larger |
| Naturally Loose Tension | Use one hook size smaller |
Choosing the right yarn weight is important for handmade gifts. Worsted weight (4 out of 7) is best for beginners. Always pick a hook that’s 1-2 sizes smaller than suggested for tighter stitches.
- Start with simple shapes like spheres
- Focus on single crochet stitches
- Learn to read and follow patterns carefully
Color Combinations and Yarn Selection
Choosing the right yarn is key for amazing amigurumi tutorials and crocheted decor. The right colors and materials can make a simple project pop with personality and charm.
Understanding Yarn Characteristics
Different yarns have unique qualities for amigurumi projects:
- Cotton yarn: Durable and machine-washable
- Acrylic yarn: Affordable with a wide color range
- Blended yarns: Mixes different fiber properties
Matching Colors for Characters
Choosing colors can really bring your amigurumi characters to life:
- Match the character’s personality with the color mood
- Use complementary color schemes
- Think about skin tone variations for realistic looks
| Yarn Type | Cost per Yard | Skin Tone Options |
|---|---|---|
| Amigo | $0.021 | 4 skin tones |
| Brava Sport | $0.012 | 7 skin tones |
| Friends Cotton 8/8 | $0.029 | 8 skin tones |
Yarn Weight Considerations
The yarn weight greatly affects your amigurumi’s look. Sport and light worsted weights are best for neat, cute designs.
“The right yarn can turn a simple crochet project into a masterpiece of texture and color.”
Pro tip for crafting crocheted decor: Always check yarn colors in natural light. Digital screens can change true colors. Try different combinations to find your unique style!
Storage and Care Instructions
Keeping your no sew amigurumi and crochet plushies safe is important. They need special care to keep their shape, color, and quality.
Storing your crochet plushies right is key to their long life. Here are some tips:
- Store in breathable fabric bags or open shelves
- Keep away from high humidity areas
- Maintain a consistent room temperature
Cleaning your no sew amigurumi needs to be gentle. Most cotton yarn creations can be carefully maintained with minimal intervention.
“Treat your handmade plushies like treasured memories – with gentle care and respect.”
Spot cleaning is usually the best way for most crochet plushies. Here’s how to do it:
- Use mild, color-safe detergent
- Avoid rubbing, which can damage fibers
If washing is needed, follow these tips:
| Material Type | Washing Method | Drying Recommendation |
|---|---|---|
| Cotton Yarn | Hand wash cold | Flat air dry |
| Acrylic Yarn | Gentle machine wash | Low tumble dry |
| Wool Blend | Hand wash only | Reshape and air dry |
With the right care, your no sew amigurumi will stay lovely for years. Remember, gentle handling and careful storage are crucial. This way, you’ll keep these handmade treasures in top condition.
Conclusion
Your journey into yarn crafts has just begun. You’re diving into no-sew amigurumi patterns, perfect for all skill levels. These adorable plushies come in various sizes, from small to big, using different yarn weights.
These crochet projects are simple yet versatile. You can make intricate characters in under an hour. Whether you’re new to crafting or looking to try new things, there’s a pattern for you.
Remember, each plushie is a way to express your creativity. No-sew techniques make it easy for beginners but still fun for those with more experience. Your unique touch can turn simple stitches into joyful characters.
Let your creativity shine in the world of amigurumi patterns. With time, patience, and passion, you’ll make delightful plushies. They’ll show off your growing skills and artistic vision.

